Android 中使用Font Awesome的方法
发布时间:2018-06-03作者:laosun阅读(3488)

Font Awesome为您提供可缩放的矢量图标,您可以使用CSS所提供的所有特性对它们进行更改,包括:大小、颜色、阴影或者其它任何支持的效果。今天我们来介绍一下Android 中使用Font Awesome的方法。
官网地址,这里我们选择 Font Awesome 4.7.0 。
因为下载非常慢,博主找了一个中文版的 Font Awesome 4.7.0
下载后解压:找到font目录,进去后,如下所示,我们只用到 fontawesome-webfont.ttf 这个文件

好了,找到android的assets目录,没有的创建的,至于如何创建,这里就不绕过去说了,搜索引擎去找吧。
然后我们创建工具类,如下所示,这个是扫描控件自动编译的。
import android.content.Context;
import android.graphics.Typeface;
import android.view.View;
import android.view.ViewGroup;
import android.widget.TextView;

/**
 * Created by sun on 2018/6/2.
 */
public class FontManager {

    public static Typeface getTypeface(Context context) {
        return Typeface.createFromAsset(context.getAssets(), "fontawesome-webfont.ttf");
    }

    public static void markAsIconContainer(View v, Typeface typeface) {
        if (v instanceof ViewGroup) {
            ViewGroup vg = (ViewGroup) v;
            for (int i = 0; i < vg.getChildCount(); i++) {
                View child = vg.getChildAt(i);
                markAsIconContainer(child, typeface);
            }
        } else if (v instanceof TextView) {
            ((TextView) v).setTypeface(typeface);
        }
    }

}
然后我们打开 res/values/string.xml
增加两行,如下所示:
<string name="fa_btn_save">保存</string> <string name="fa_user_icon"></string>
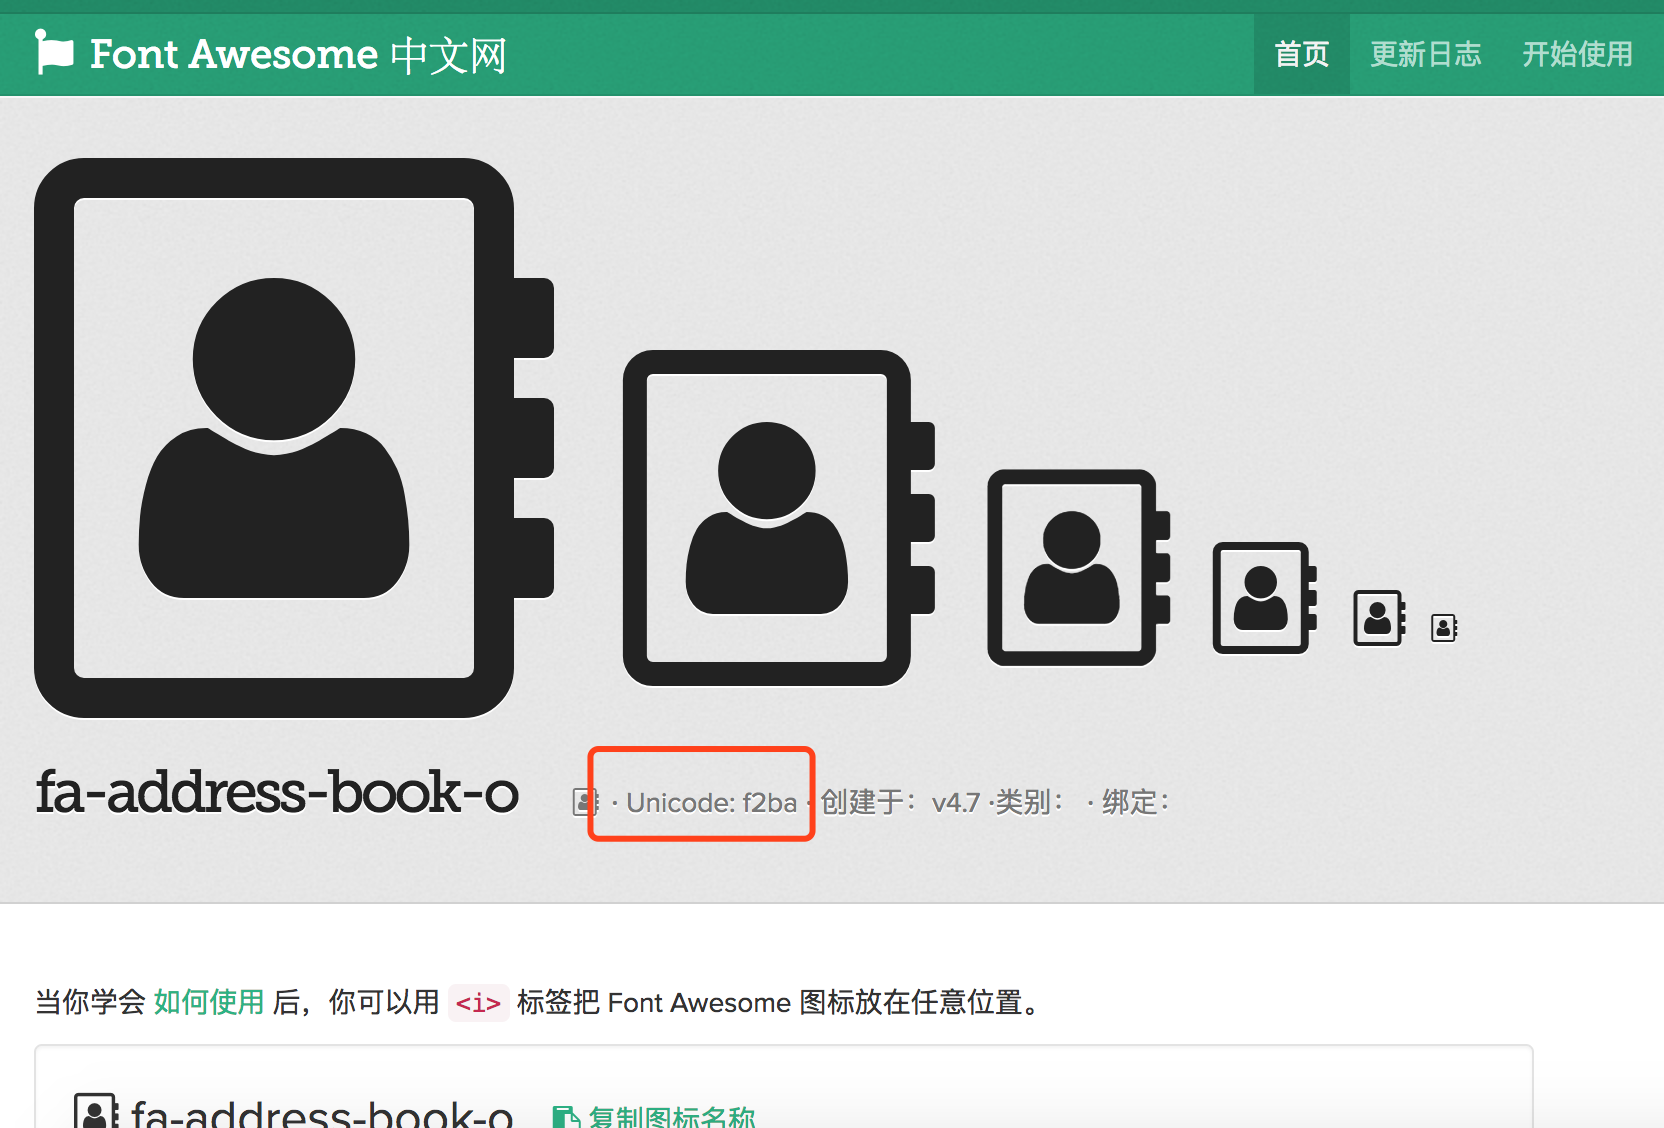
上边的name是随便命名的,后边的&#x是固定写法,中间的f0c7和f007是Font Awesome的unicode编码。后边还有个;分号。
unicode查找方式就去上边的站点去查找即可,找到自己需要的icon,点击进去就可以看到。如下所示:

另外在layout布局xml中,引用即可,如下所示:
<?xml version="1.0" encoding="utf-8"?>
<RelativeLayout xmlns:android="http://schemas.android.com/apk/res/android"
    xmlns:tools="http://schemas.android.com/tools"
    android:id="@+id/main_axml"
    android:layout_width="match_parent"
    android:layout_height="match_parent"
    tools:context=".MainActivity">

    <Button
        android:id="@+id/btn_fs1"
        android:layout_width="wrap_content"
        android:layout_height="wrap_content"
        android:layout_centerHorizontal="true"
        android:text="@string/fa_btn_save" />

    <TextView
        android:layout_width="wrap_content"
        android:layout_height="wrap_content"
        android:layout_below="@+id/btn_fs1"
        android:layout_centerHorizontal="true"
        android:text="@string/fa_user_icon"
        android:textSize="66dp" />
</RelativeLayout>
另外在MainActivitys中增加两行:
import android.graphics.Typeface;
import android.os.Bundle;
import android.support.v7.app.AppCompatActivity;

public class MainActivity extends AppCompatActivity {

    @Override
    protected void onCreate(Bundle savedInstanceState) {
        super.onCreate(savedInstanceState);
        setContentView(R.layout.activity_main);

        //使用Font Awesome
        Typeface iconFont = FontManager.getTypeface(getApplicationContext());
        FontManager.markAsIconContainer(findViewById(R.id.main_axml), iconFont);
    }
}
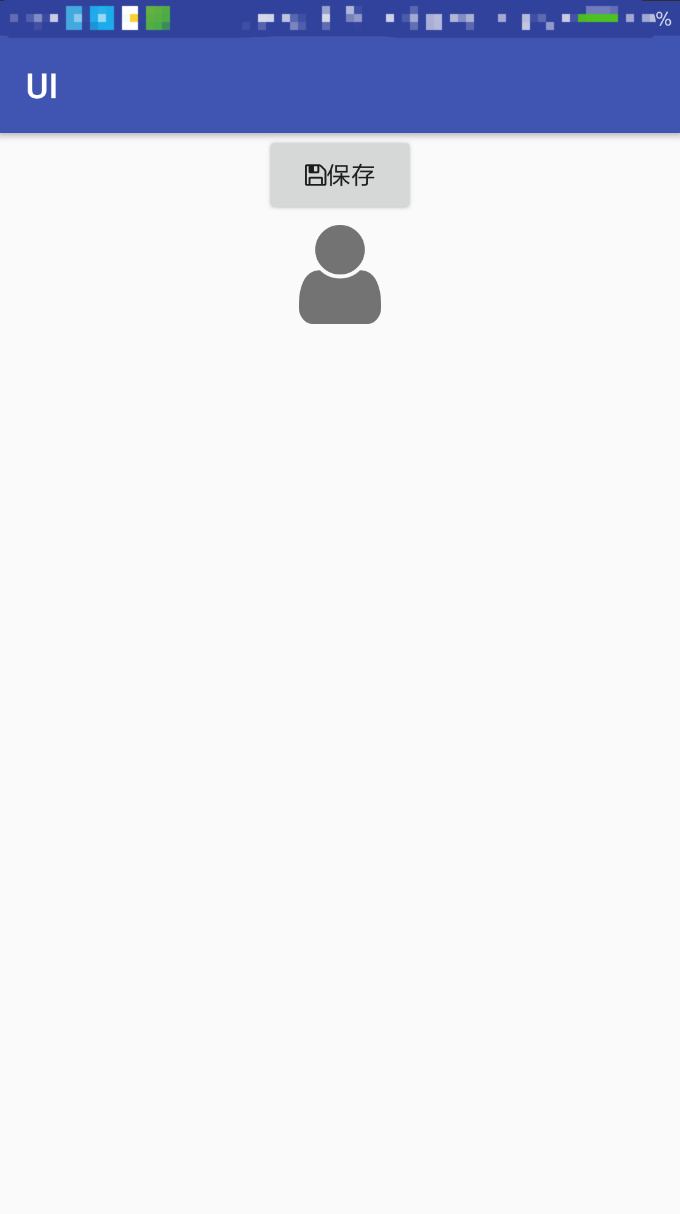
测试一下效果图如下:

 1 +1
1 +1
版权属于: 技术客
原文地址: https://www.sunjs.com/article/detail/07b8c6875a164532b5d4b37237026e64.html
著作权归作者所有。商业转载请联系作者获得授权,非商业转载请注明出处。
共 0 条评论