RocketMQ配置console控制台,配置登录账户密码
发布时间:2021-04-26作者:laosun阅读(13456)

今天讲解如何配置RocketMQ-console控制台,并且配置登录账户密码。
我们先去github上下载一份源码进行编译。https://github.com/apache/rocketmq-externals
使用git命令 git clone 估计太慢,建议打包下载zip,然后解压。.
今天演示环境还是Parallels Centos虚拟机,IP地址为:10.211.55.11。.
上一篇我们已经演示了如何搭建RocketMQ,文章:RocketMQ 下载安装,修改运行内存,配置单主
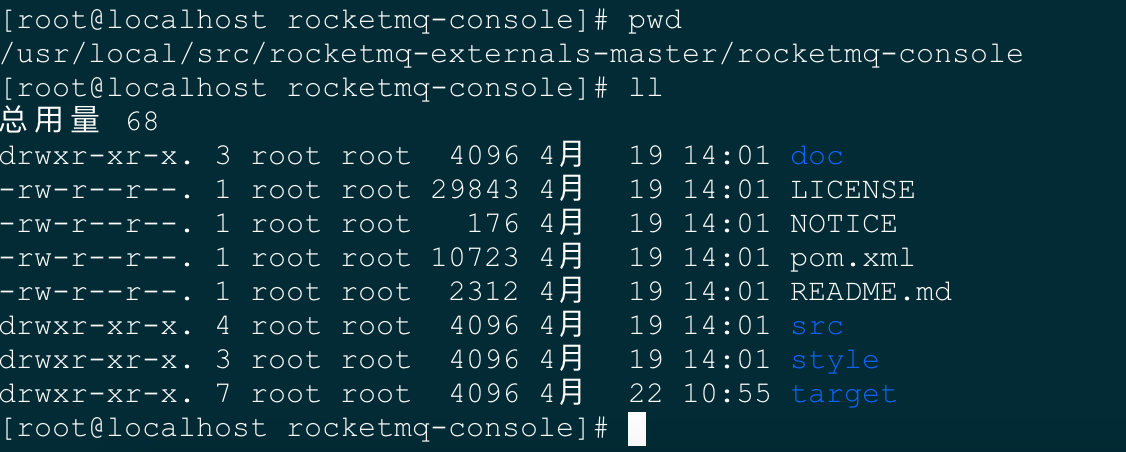
这里我们将下载后的zip转移到 /url/local/src目录下,并且解压,解压后如下所示:

修改配置文件:
# 我们先修改下配置文件,再进行编译打包。
# 修改application.properties和users.properties
> vim application.properties
修改 application.properties 内容如下(每次修改完记得重新编译打包):
server.address=0.0.0.0
# =============修改端口为19876=============
server.port=19876

### SSL setting
#server.ssl.key-store=classpath:rmqcngkeystore.jks
#server.ssl.key-store-password=rocketmq
#server.ssl.keyStoreType=PKCS12
#server.ssl.keyAlias=rmqcngkey

#spring.application.index=true
spring.application.name=rocketmq-console
spring.http.encoding.charset=UTF-8
spring.http.encoding.enabled=true
spring.http.encoding.force=true
logging.level.root=INFO
logging.config=classpath:logback.xml
#if this value is empty,use env value rocketmq.config.namesrvAddr  NAMESRV_ADDR | now, you can set it in ops page.default localhost:9876
# =============修改namesrv地址,如果是多个请以分号;分隔(此处修改成你自己安装的rocket namesrv地址ip即可)=============
rocketmq.config.namesrvAddr=10.211.55.11:9876
#if you use rocketmq version < 3.5.8, rocketmq.config.isVIPChannel should be false.default true
rocketmq.config.isVIPChannel=
#rocketmq-console's data path:dashboard/monitor
rocketmq.config.dataPath=/tmp/rocketmq-console/data
#set it false if you don't want use dashboard.default true
rocketmq.config.enableDashBoardCollect=true
#set the message track trace topic if you don't want use the default one
rocketmq.config.msgTrackTopicName=
rocketmq.config.ticketKey=ticket

#Must create userInfo file: ${rocketmq.config.dataPath}/users.properties if the login is required
# =============开启控制台账户密码登录(为true表示开启,为false表示关闭)=============
rocketmq.config.loginRequired=true

#set the accessKey and secretKey if you used acl
#rocketmq.config.accessKey=
#rocketmq.config.secretKey=
修改 users.properties 内容如下(每次修改完记得重新编译打包):
# This file supports hot change, any change will be auto-reloaded without Console restarting.
# Format: a user per line, username=password[,N] #N is optional, 0 (Normal User); 1 (Admin)

# Define Admin
# =============用户名和密码规则「用户名=密码,权限」,这里的权限为1表示管理员,为0表示普通用户=============
# 例如:admin=admin123,1
这是用户名=这是密码,1


# Define Users
# =============屏蔽下边两个账户=============
#user1=user1
#user2=user2
都修改完成后,我们返回到模块根目录,如下所示:

编译打包:
# 使用maven命令进行编译打包
> mvn clean package -Dmaven.test.skip=true
如下图所示:

打包完成后,我们进行启动。
# 启动该服务,先不要后台启动,我们先观察下日志
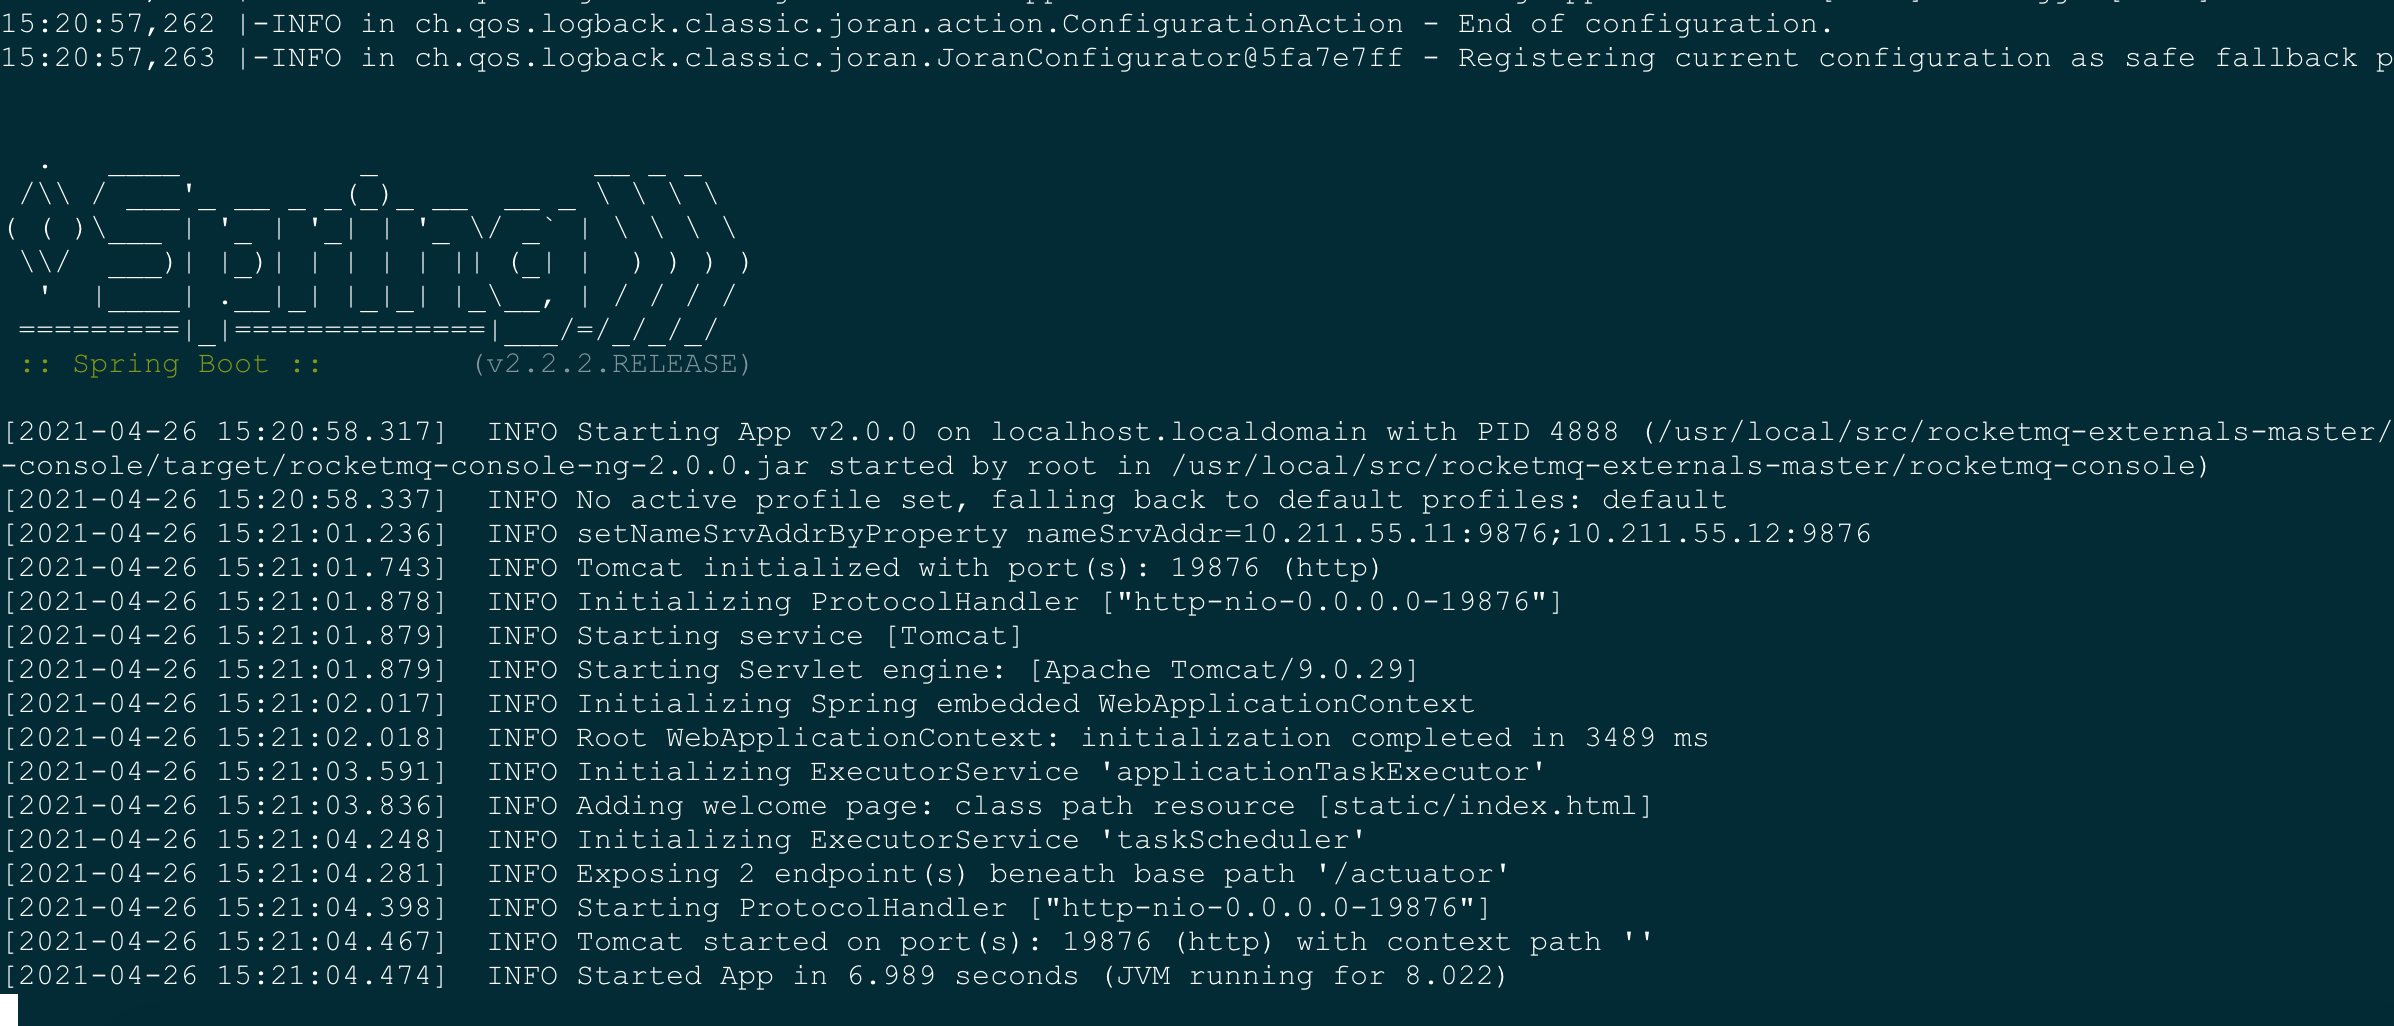
> java -jar target/rocketmq-console-ng-2.0.0.jar
如下图所示,表示启动成功:

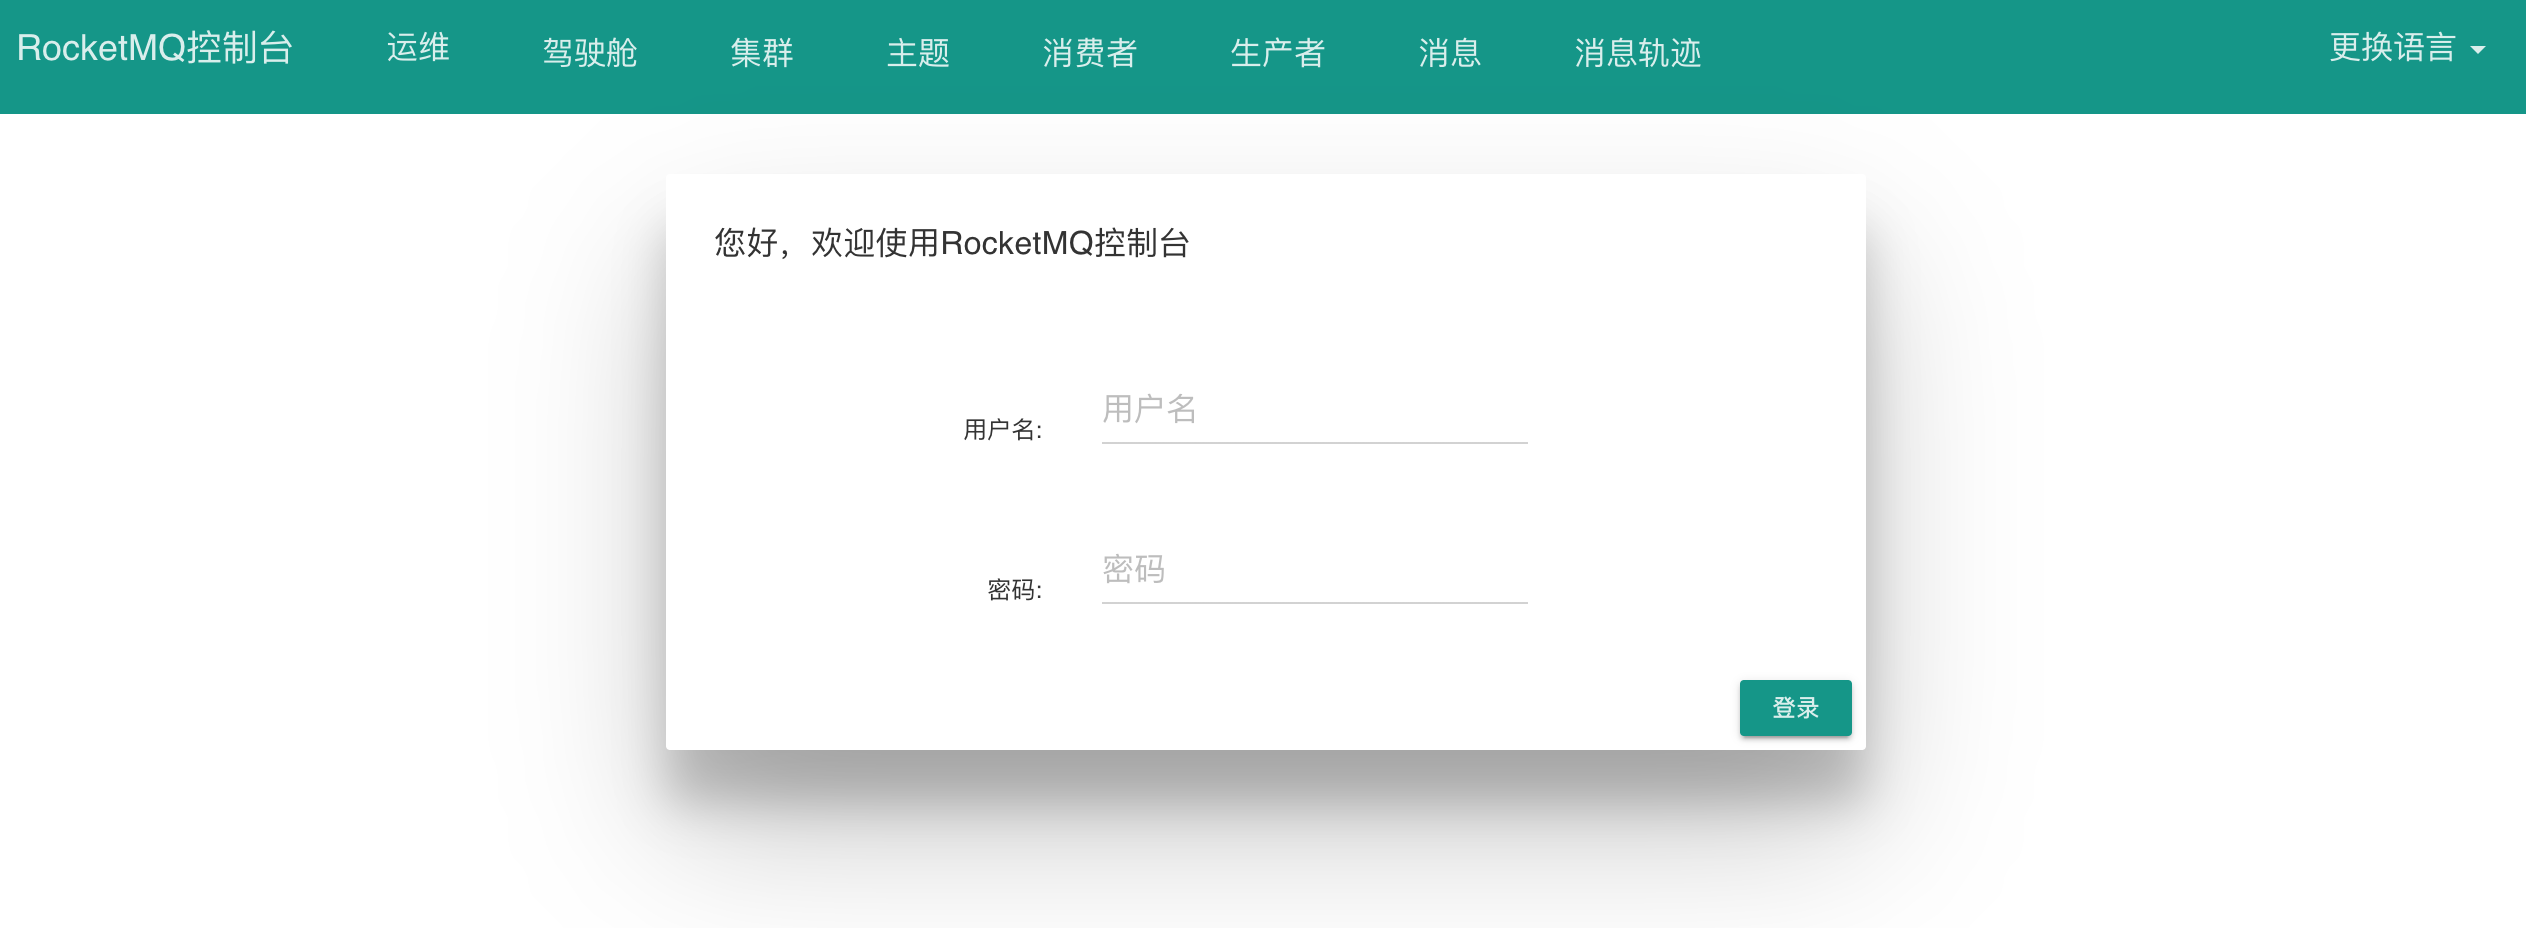
我们打开浏览器输入地址:http://10.211.55.11:19876 即可看到如下图所示登录界面。(此处修改成你自己的ip地址,rocket-console所在的机器的ip地址)

我们登录成功,点击菜单“集群”,可以看到已经处于服务中的broker ,如下所示:

截止到现在,rocket-console控制台监控服务已经搭建完毕。此处不教怎么使用,自己研究自己查。
下一章我们将介绍 RocketMQ配置双主模式 和 双主双从模式
 8 +1
8 +1
版权属于: 技术客
原文地址: https://www.sunjs.com/article/detail/a44ed76899194d1fa1cc883c70b99c1f.html
著作权归作者所有。商业转载请联系作者获得授权,非商业转载请注明出处。